
Sometimes the process of going from a rough idea to a final finished drawing, reading for illustrating, can be daunting. How do we go from the vague to the specific, and what is the process in doing so? The key word here is process. When we break it down to a step-by-step process, we can focus on each step, one at a time, building upon previous work, until we arrive at a finished piece. Here is how it works in practice:
Above is a finished drawing I created for a project I’m working on.
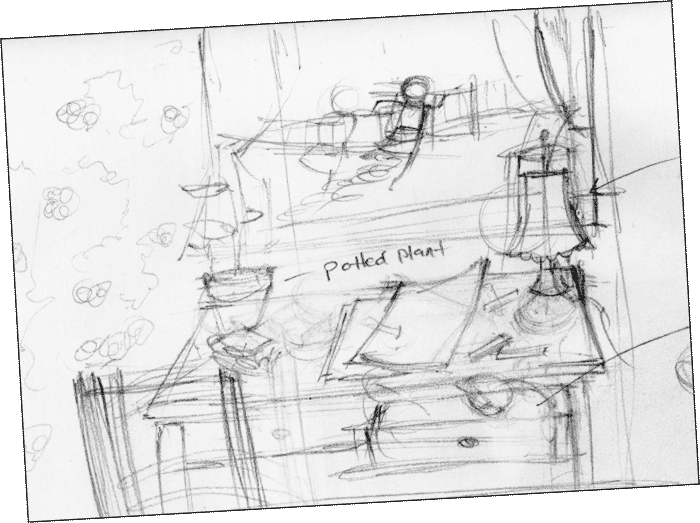
Step One: Concept
The rough thumbnail I selected was one where we see a child’s desk and an assortment of articles abandoned, with the child seen running off in the window behind the desk. Once I established this as the general idea for the drawing, I redid the sketch as a semi-rough sketch.
Step Two: Semi-Rough Sketch
Perspective is important, but I haven’t started putting in any grids in yet. However, I know generally where the vanishing point should be and I point the receding lines that direction. But I’m not going to take the time for accuracy. That comes later. I’m just concerned about getting all the parts and pieces down.
Step Three: Preparation
When I’ve finished with the semi-rough, I’ll scan it in, scale it up anywhere between 200-400%, and reprint it. Then I’ll layer a sheet of tracing paper or marker bond on top and tape it in place.
Step Four: The Perspective
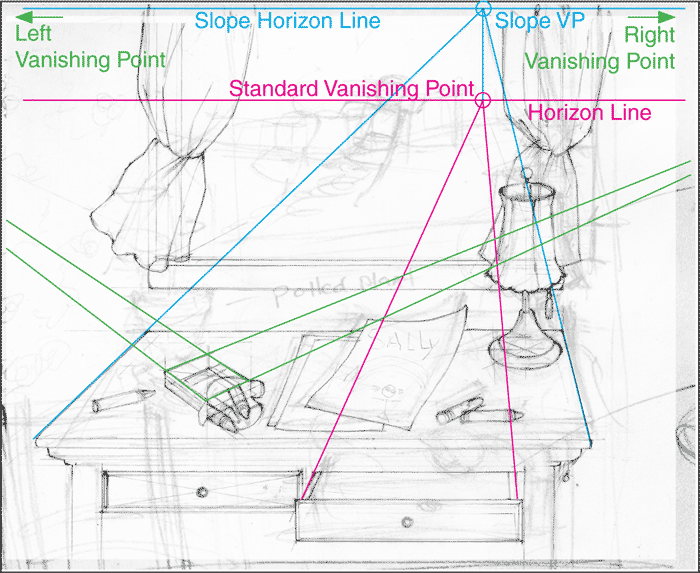
Tracing a few of my rough lines, I can determine exactly where my vanishing point and horizon line should be. I’ll use my T-square to draw in the horizon line. In this particular case, I actually have two vanishing points. I made the assumption that this child’s desk’s surface is at a slight incline. This means I need a slope vanishing point, somewhere above my original vanishing point. Everything that’s on the surface of the desk will be aligned with this new vanishing point and the subsequent new “horizon line” that is associated with it.
The box of crayons is not parallel with the rest of the desk, thus, it cannot be drawn in one point like everything else. So I found it’s two vanishing points, aligned, once again, on the slope horizon line, and not on the original horizon line.
Step Five: Foreground Items
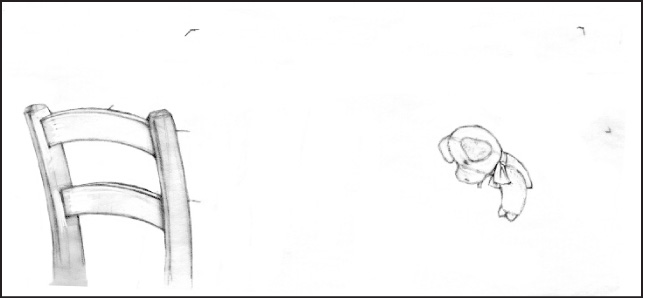
I still needed to add the chair and the stuffed pig. Since I wished to keep my perspective drawing clean, and knowing I would probably be doing additional erasing to get the chair right, it was important to grab another sheet of tracing paper, thereby not disturbing the finished perspective work underneath.
Step Six: Background Items
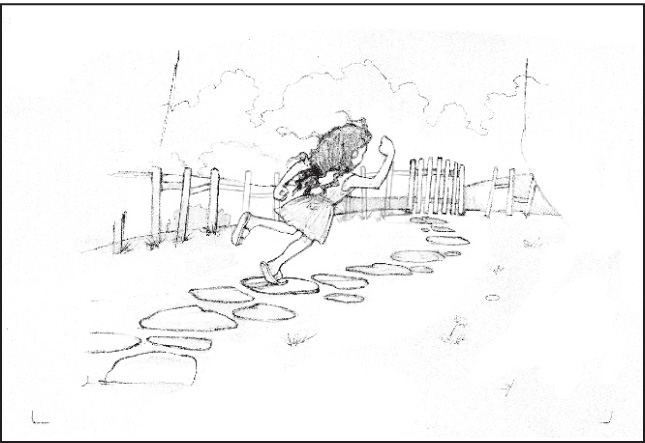
For exactly the same reason as the foreground items, I layered one more sheet for all of the elements inside of the window. Also, keep in mind, that every time you layer another sheet of tracing paper, remember to add and create registration marks all the way through your layers.
Step Seven: Compilation
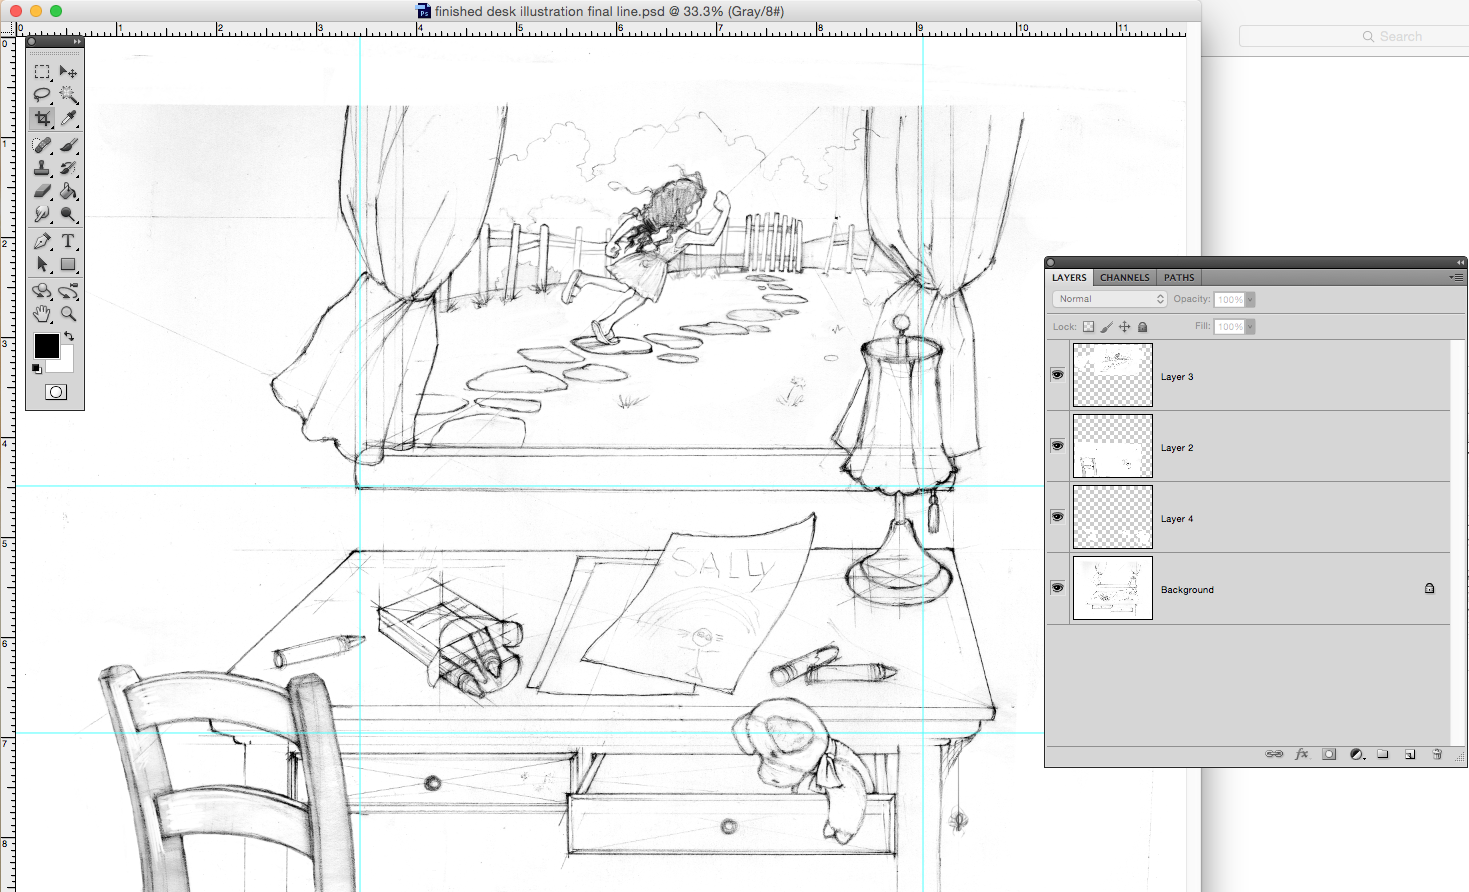
Scan everything in as separate layers and use your registration marks to align them back up in your digital program (I use Photoshop). I’ll then use my Cintiq to clean up the scans and seam them together nicely.
Now the drawing is ready for painting. At this point, I’ll probably print it back out, to size of my finished art, and transfer to my illustration board or canvas.
That’s how it’s done!
I have many more tips available. Stay tuned as we release them here, on Youtube eventually, and through upcoming online courses, workbooks, and tutorials.