Create for yourself a gridded box that you can move your camera around. This helps you see in real time how perspective changes based upon the location of your camera. Watch as you shift from one-point perspective to two-point perspective, and then from two-point to three-point. See how things look differently whether you have a low horizon line (so your camera is more near the ground) versus a high horizon line (your camera is closer to the top).
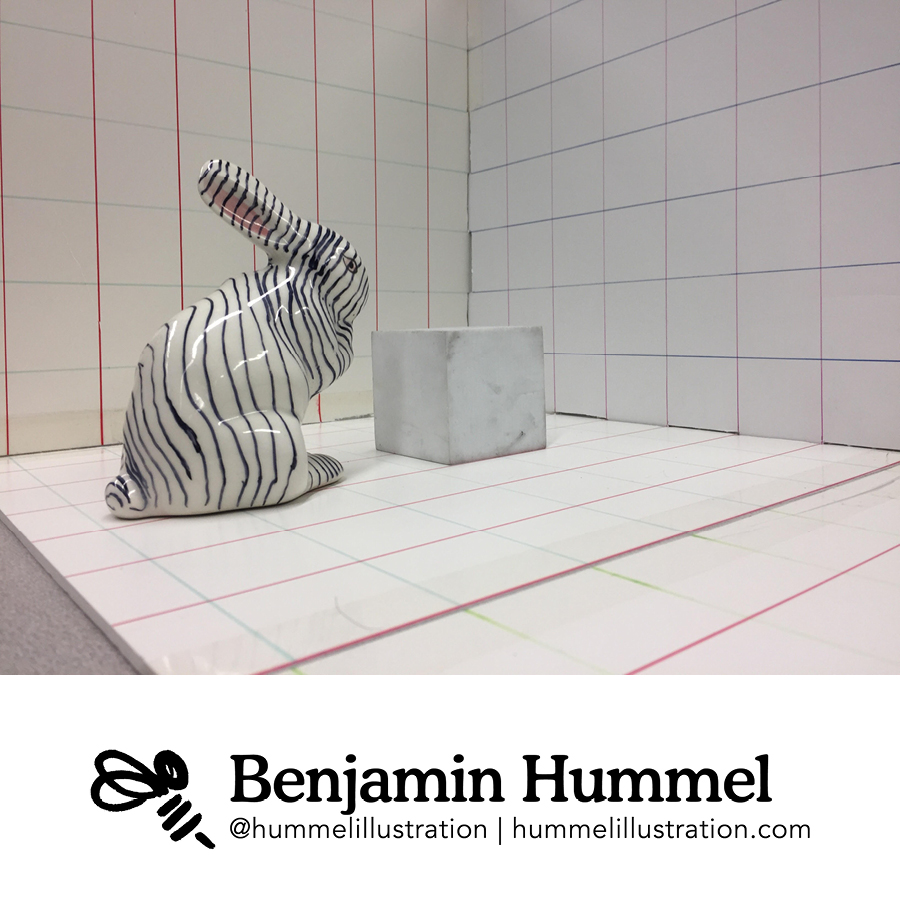
These boxes can really help you visualize the space, without having to be a mathematical genius. The only math required is to make sure that your grid lines are perfectly spaced from each other. Once that happens, you can see how one square looks to you close up compared the a square of exactly the same size much further away. How does a square look on the vertical wall compared to the ground?
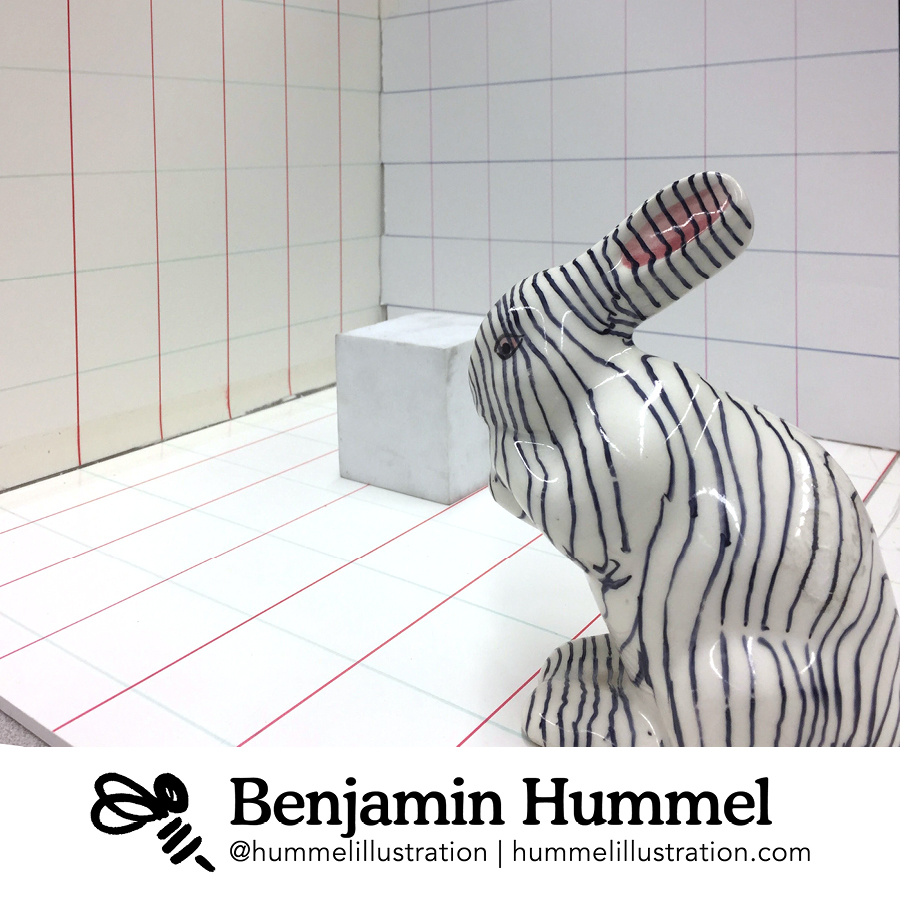
You can even drop the picture into photoshop and start sketching directly into the space! Having a hard time figuring out how to create an environment? Set it up with this box first, photograph it from the right angle, and then sketch your environment around the lines from your photo.
So how do you create such a box? Many different ways. I made hinges with duct tape on foam core so I can move the walls and collapse them flat for easy storage. There is a third piece that is loose, but fits in using puzzle like notches on the very ends. This can give me a ground plane or ceiling plane. Use sharpie markers, a ruler and a triangle to properly draw out the grid. Make it once, use it forever!