
I am going to go through the 7 steps to illustrate a children’s book, and I’m going to use the current book “A Gift of Life,” to document my process. Follow along as I show you my steps.
The book I’m starting with is called “A Gift of Life.” This is actually a children’s book about organ donation, quite appropriate given the fact I am the beneficiary of a donated liver. It is an honor to work on this book.
Step 1: Storyboarding
To begin, all children’s books start with a storyboard. This is going to be a road map for the entire project moving forward. Many times, the copy* is given to me with pagination already determined. I take this information and I do rough sketches for each spread* of the book.
*COPY is the written text of a published piece
*A SPREAD is two pages as they look next to each other, when the book is opened up.
It’s important that I consider the entire book as a whole. For this reason, I’ll place all of my sketches in an InDesign document, and I’ll flow the copy from the book with the sketches. This allows me to very quickly see the book layout, and make sure I leave enough “dead space” in the art to accommodate the copy. The other nice feature of InDesign is that it will immediately update my sketches as I make changes to them.
Step 2: Develop the characters
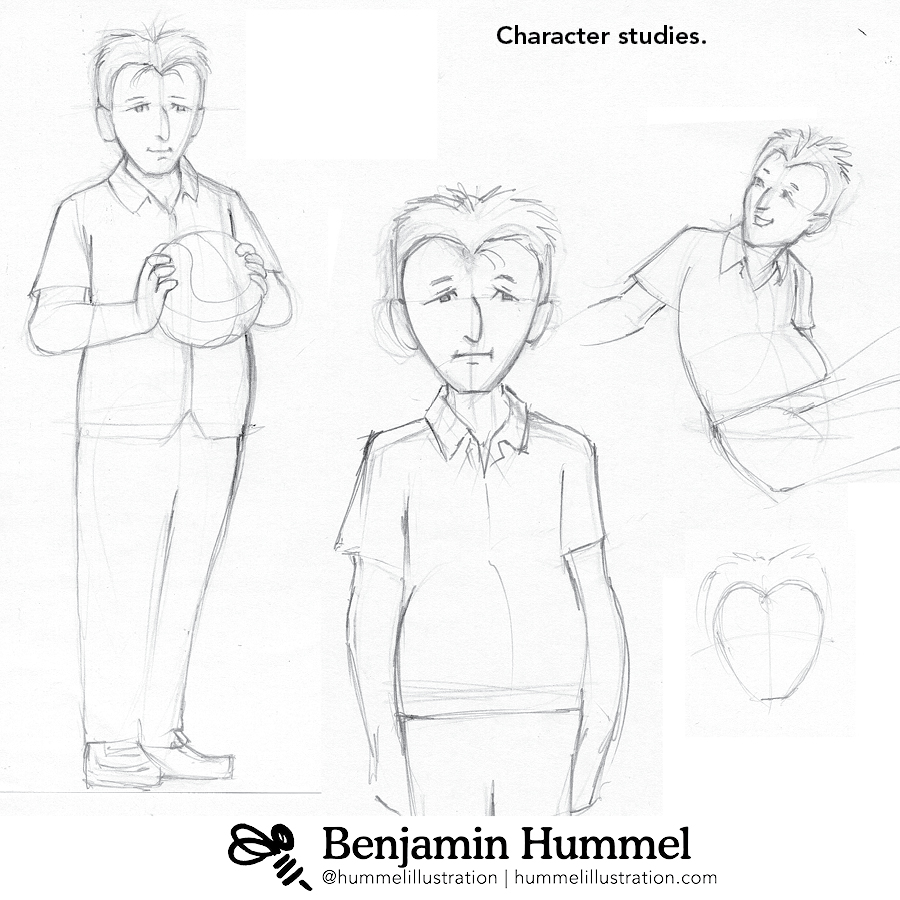
In order to maintain continuity, I’ll spend a good deal of time developing the characters and creating model sheets for me to refer to later on in the process. (Here’s a little secret. Often times I’ll pattern my characters after real people I know. This helps me create characters that are more distinct and less generic.)
Step 3: Final line sketches
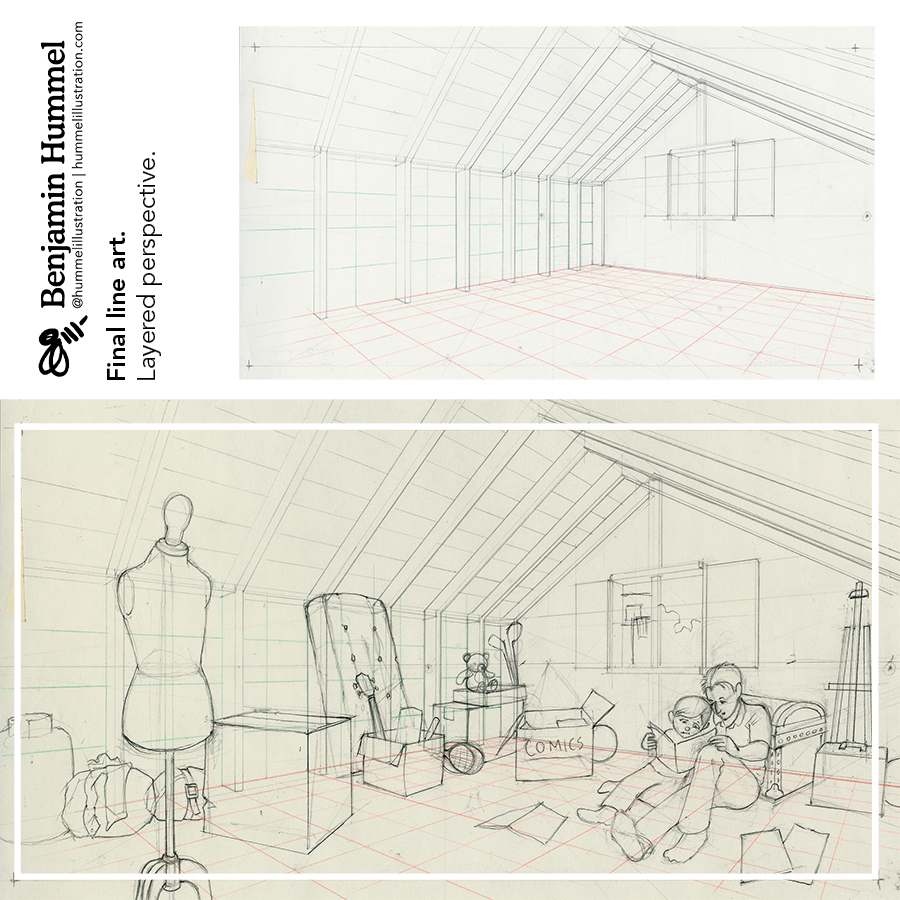
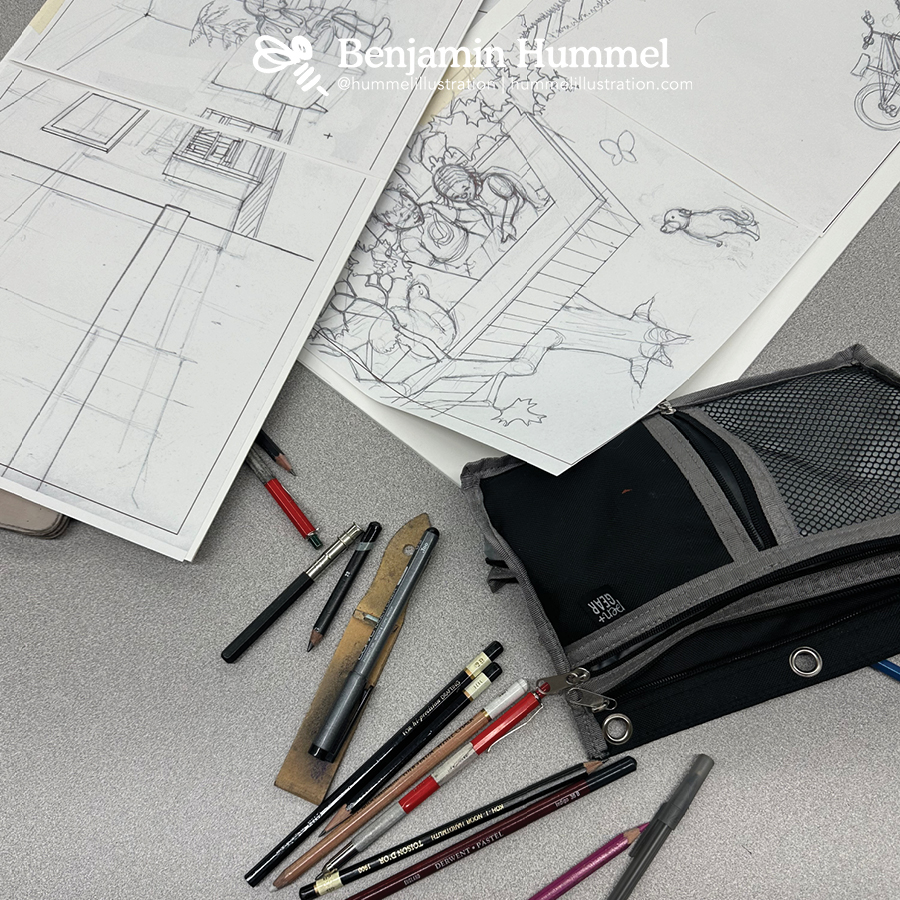
Next, I’ll work on the cleaned up sketches. If any of the illustrations have complicated perspective, I’ll work that out either digitally or with giant sheets of paper on my desk. With additional layers of either paper or digitally, I’ll draw in the character elements and the details of the environment on top of the perspective grid created.
Sometimes I’ll work on multiple layers of cheap paper and transfer later, and sometimes I’ll sketch directly on my final board. (It kind of depends on how confident I’m feeling on the day I do the drawing.)
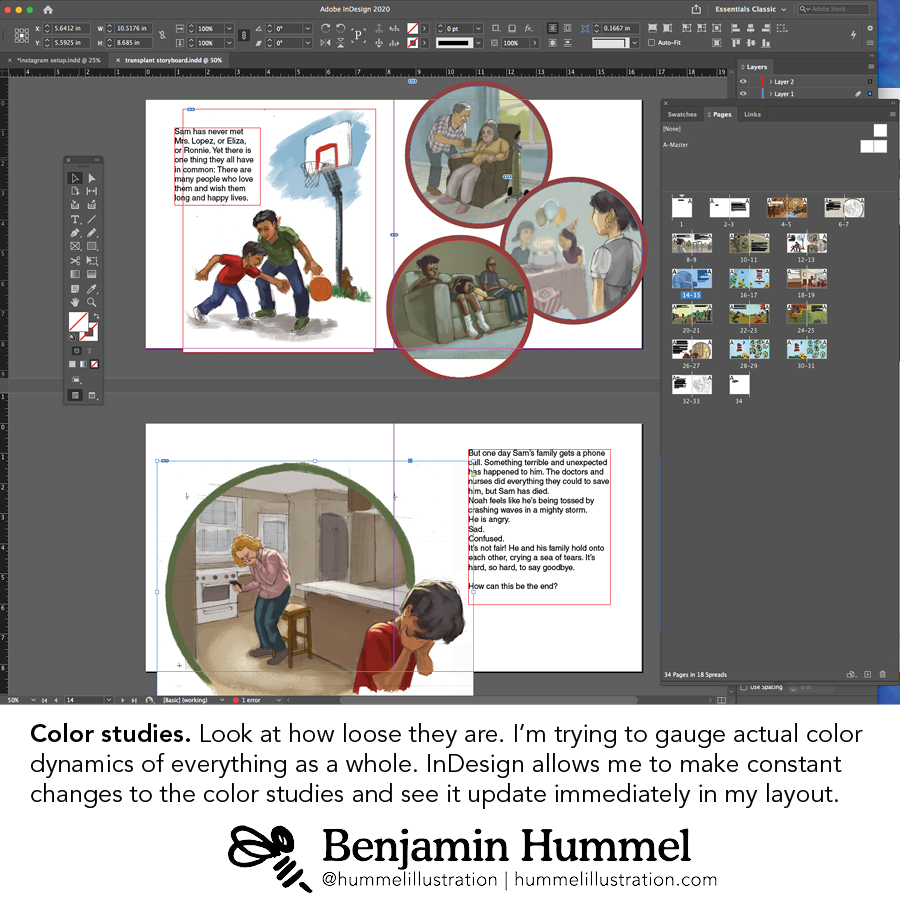
Step 4: Color studies
I’ll scan all of the final line sketches as on flattened image, and I’ll do quick digital color studies for the entire book. Once again, I’ll use InDesign to see how the colors of the entire book are working together. I look up themes and trends and see if there is a color palette I could use that will work with narrative and feel of the book. Because I do this in layers digitally, I can very quickly make color changes to see how it looks. I’ll update my InDesign file to see how the color choices work collectively for the whole project.
And that’s where I am currently at today. Tune in a couple of weeks for the conclusion of this process.
If you like this and want to learn more, you can:
- > stay tune, as Cherish and I are developing classes in which we explore these concepts in greater depth. Send us an email for more information, or sign up to my mailing list.
- > join me every other Monday on Facebook Live or on YouTube as I invite you in my studio to watch me create. (approximately. I’m still working out a lot of the details and my health leaves my schedule a bit difficult to manage.)
Also, if you want to support what we are doing, you can always check out our current book selection, or purchase one of our many affordable art pieces in our Gallery Bin. Once again, thank you for your support.